Sometimes you just need a sandbox of your very own. Oracle's VirtualBox has long offered a way to let you play with a guest OS on your host system - but what if you need to interact with the guest from your host? In my case I wanted to simulate a sharded MongoDB cluster that, to be a true simulation, required a minimum of three servers.
Here we will go over the process of setting up your virtual machine in such a way that you can "remote" administer it and connect to it like any server on your network. For this example I will be running and OS X host with a Ubuntu Server 10.10 guest.
1. Download and install Oracle VirtualBox®
here.
2. With VirtualBox® installed, let's take a look at our network settings on the host machine with `ifconfig`. Here you will want to take note of the vboxnet0 address:
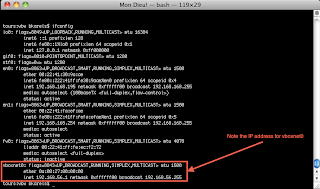
3. Add a new virtual machine using the Oracle VM VirtualBox Manager. Once the initial setup is complete select the new virtual machine can click on the network adapter to add a second:
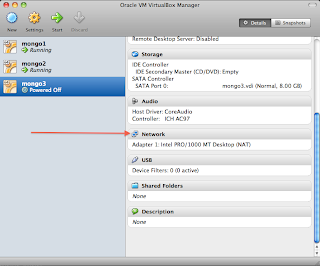
4. Adapter #1 will be configured by default and does not need to be altered. Click on the tab for `Adapter 2`, enable, and configure as follows:

5. Click the green arrow in the VM Manger to start the new virtual machine and install the new guest. (the rest of this example assumes a guest of type Ubuntu Server 10.10 but should be very similar for all flavors of *nix.)
6. During the guest install be sure to select eth0 as the primary network adapter.
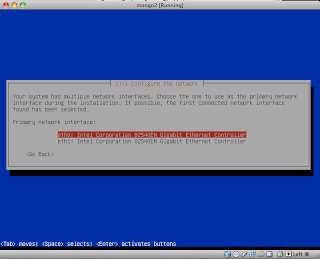
7. Also, to save the need to set up the OpenSSH Server later, you can elect to do so as part of the OS install.

8. Start up the new guest and login.
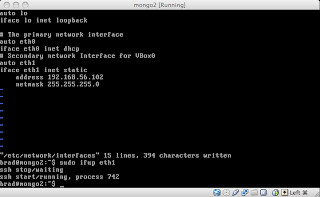
9. Configure eth1 by modifying /etc/network/interfaces Add the following lines:
(NOTE: The address below is made up from the VBoxnet0 address noted in Step 2 above. Since mine defaulted to 192.168.56.1 I was free to use any value beyond that as below.)
# Secondary network interface for VBox0
auto eth1
iface eth1 inet static
address 192.168.56.102
netmask 255.255.255.0
10. Save and close /etc/network/interfaces and bring up eth1 using:
sudo ifup eth1
Your terminal might look like this when done:
11. Open a terminal on your host machine and connect to your guest using SSH:
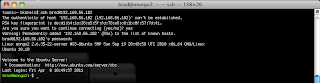
If all went well you should be connected via SSH to your guest system and be able to interact with it as you would any server on your network. So, let's fire up a remote MongoDB server on our guest and verify that we can reach the Http Interface for the instance.
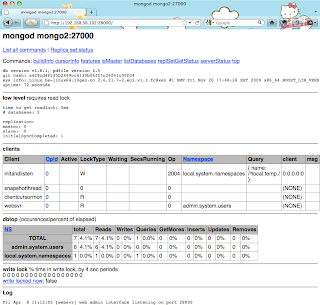
Starting up mongod on port 27000 on
mongo2 (Http Interface defaults to [port] + 1000 or 28000 in this case):

...and voilà! We are connected to our "remote" instance.
Fin


